Showing posts with label Recipes. Show all posts

Friday, June 7, 2013

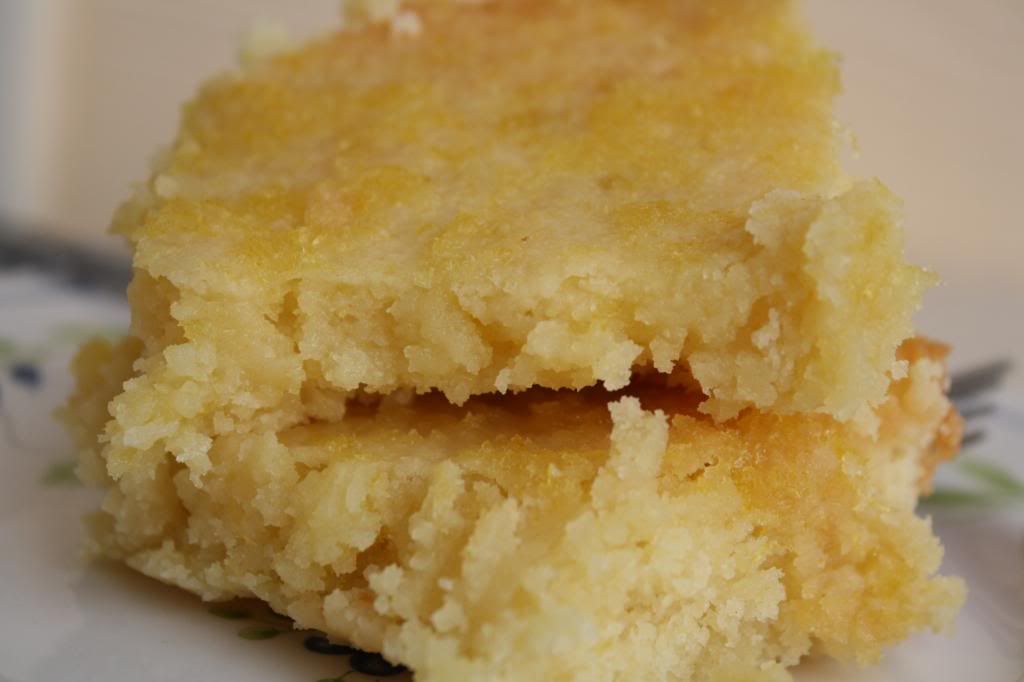
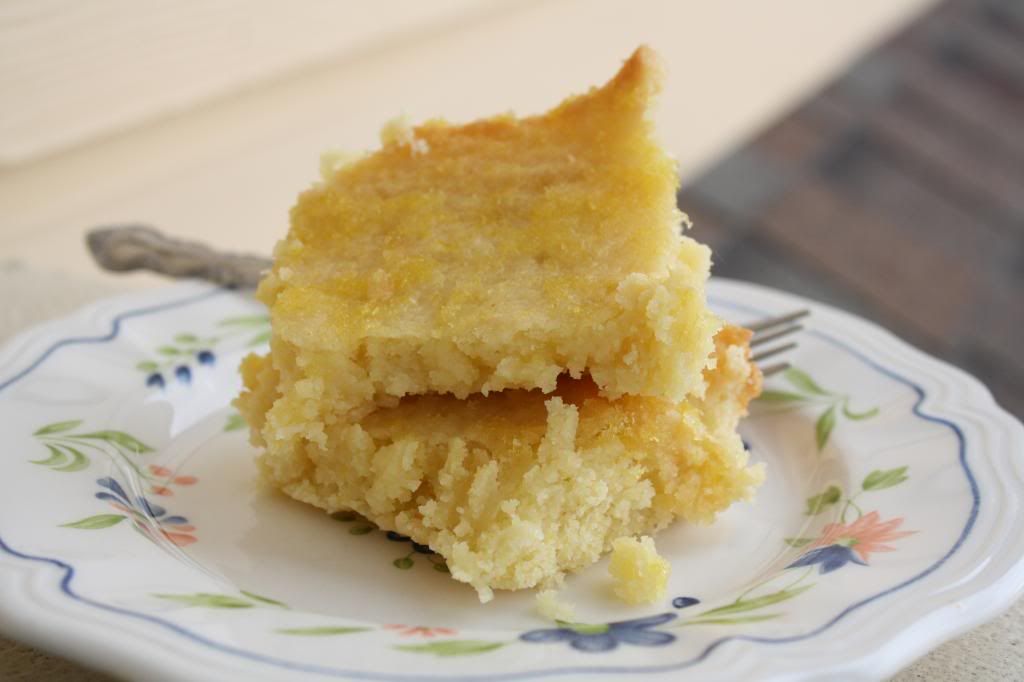
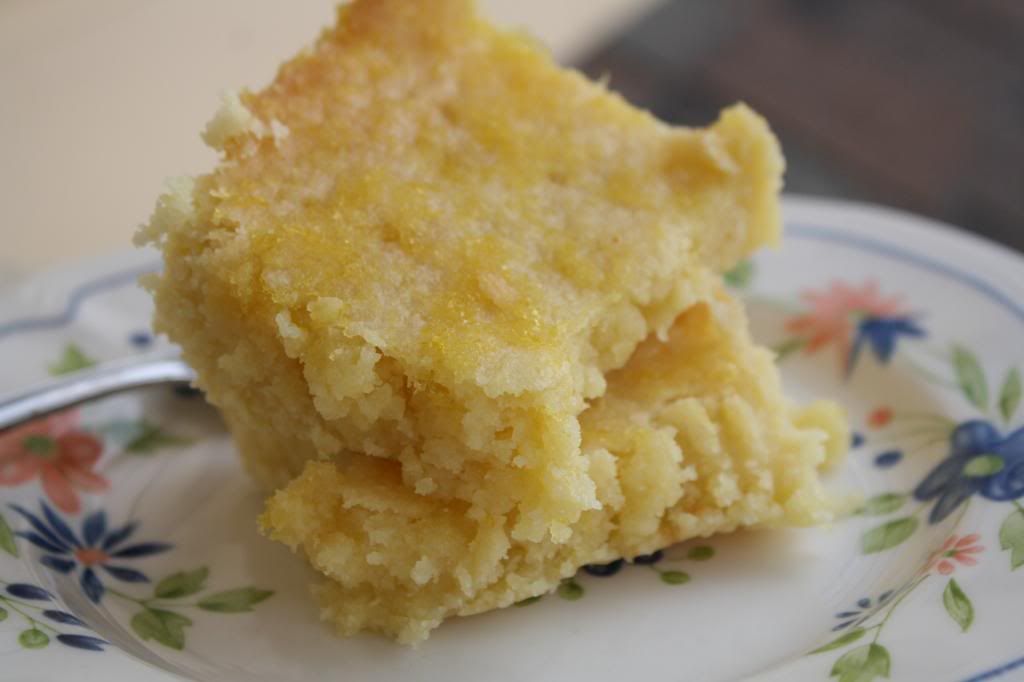
Perfect for Summer: Lemon Brownies


Well hello friends!

I haven't shared a recipe in awhile, and this one is really good and perfect for summer, so it had to be shared. I don't know about y'all, but Garrett and I LOVE lemon flavored desserts. They are the perfect amount of sweetness paired with a tangy citrus flavor, and they scream summer. 
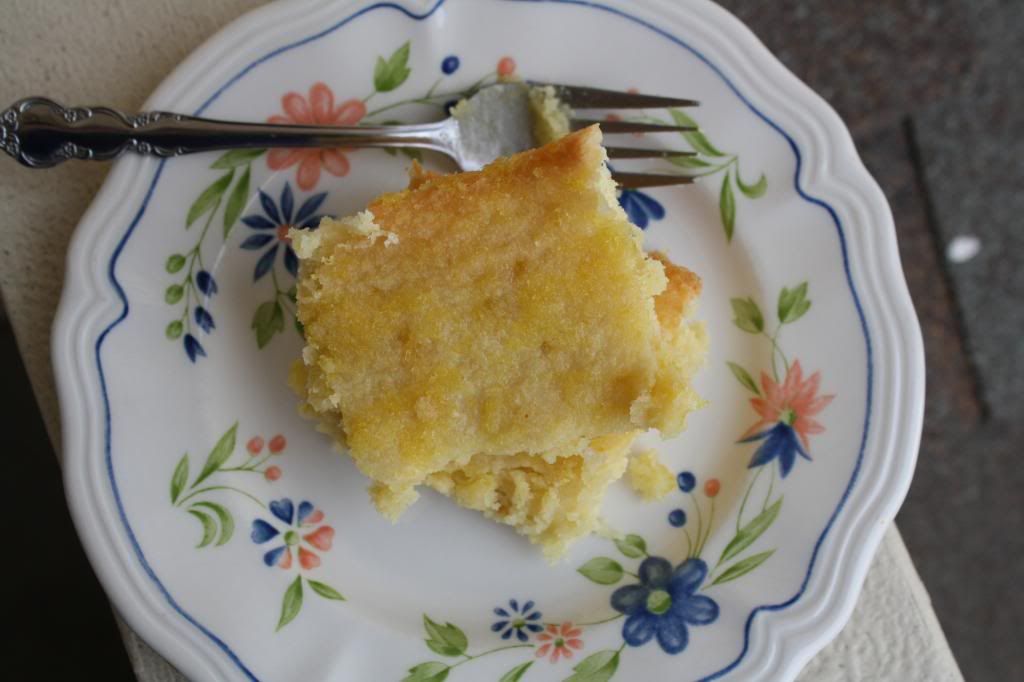

Despite the fact that these are called Lemon "Brownies", there is no chocolate in them, brownie just refers to the texture. Which is incredible.

What you need:
(for the brownies)

3/4 Cup Flour
3/4 Sugar
1/4 Teaspoon Salt
1/2 Cup Butter (1 stick), softened
2 Eggs
2 Tablespoons Lemon Zest
2 Tablespoons Lemon Juice, freshly squeezed

(for the lemon glaze)

1 Cup Powdered Sugar (or to taste)
4 tablespoons Lemon Juice, fresh
8 Teaspoons Lemon Zest

What to do:

1. Preheat oven to 350. Grease an 8x8 pan, set aside.

2. Zest and juice 3 lemons, set aside.

3. Beat together the flour, sugar, salt, and butter until well mixed.

4. Add in the eggs, lemon juice and zest (2 Tablespoons each). Beat for several minutes until you have a creamy, smooth texture.

5. Pour into baking dish and bake for 23 to 25 minutes or until the edges just start to turn golden and a toothpick inserted in the middle is dry. Do not over bake, these will get dry. 

6. Allow brownies to cool completely before adding the glaze. 

To make the glaze:

Mix powdered sugar, lemon zest, and juice. Spread half over the brownies, let set. Pour the remaining glaze on the brownies, cut into bars, and enjoy!



Thursday, May 9, 2013

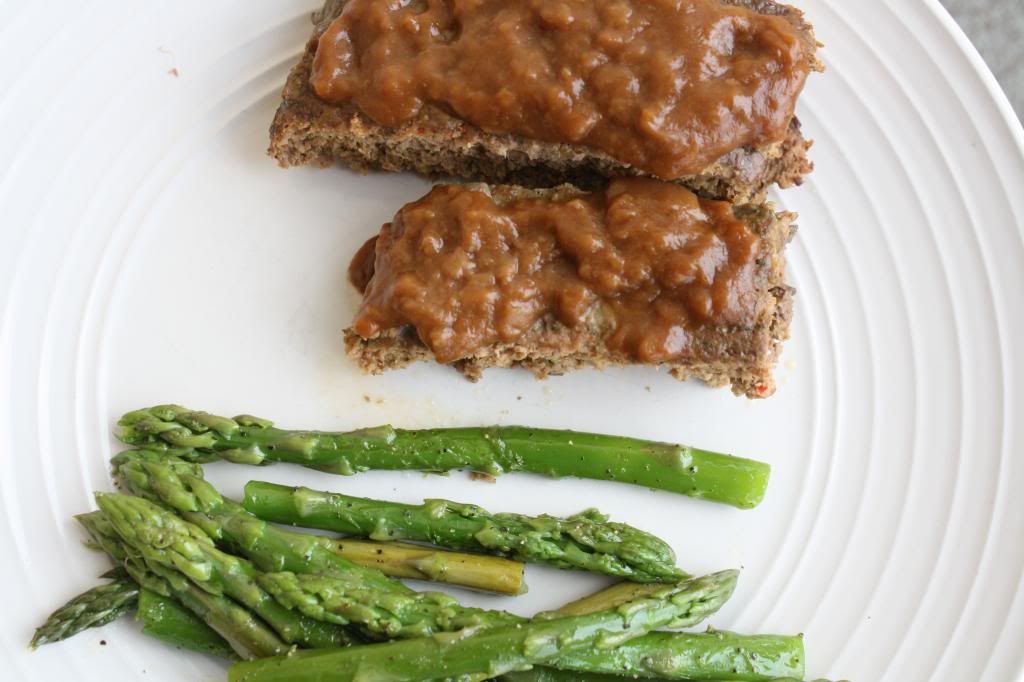
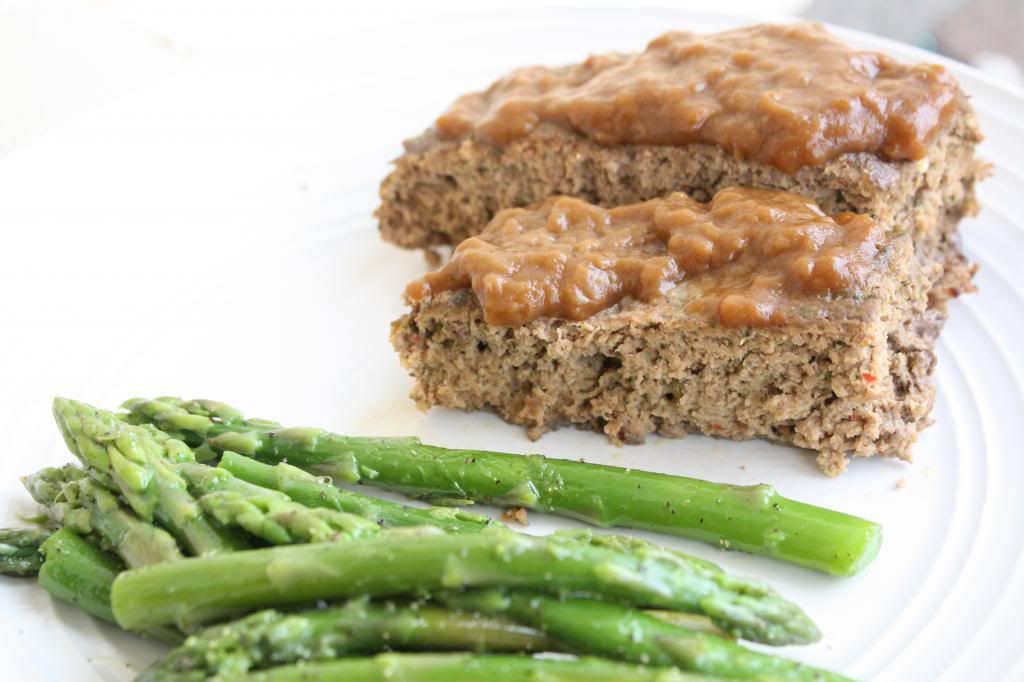
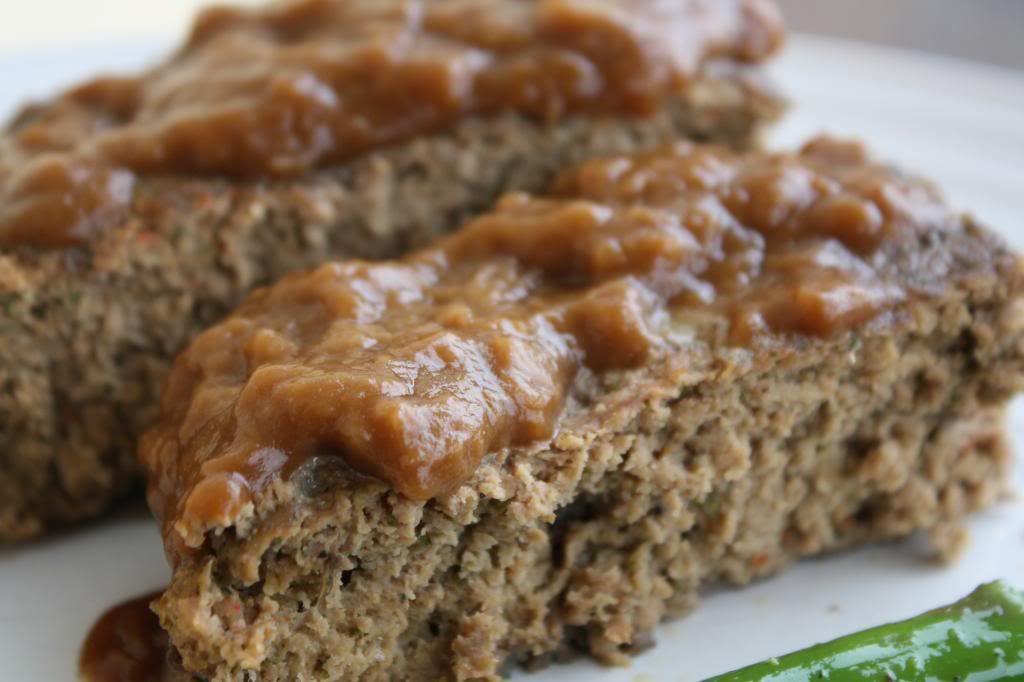
Healthy {Paleo Friendly} Meatloaf

Hi y'all!

Remember last week when I was talking about trying to eat healthier? I decided I wanted to try to eat "cleaner" and so I searched Paleo friendly meals and came across this meatloaf recipe.

I don't like meatloaf so I was hesitant to try it, but it was full of veggies so I talked myself, and Garrett, into trying it. You know what? It wasn't half bad! I think Garrett liked it a little more than I did, but for me to like something with veggies in it was a big deal!


You will need:

2 Lb Extra Lean Ground Beef
*2 Red Onions, finely chopped
*4 Garlic Cloves, minced
*1/2 Bell Pepper, chopped
*1/2 Cup Cilantro, chopped
*1/2 Cup Parsley, chopped
2 tsp Cumin
1 tsp Pepper
3 Eggs, beaten
2 T Flaxseed Oil {I used vegetable oil}

*I don't like chunky veggies in my food so I added all of the ingredients with the * to the blender, and blended them up completely. That way I still got the veggies but without the chunks. If you don't mind chunky veggies you can skip this step!

What to do:

Mix all ingredients in a large mixing bowl. Spread evenly in an 81/2 by 11 baking dish and bake at 400 degrees for 45 minutes. 


I added brown gravy to mine because I needed a little salt, but you don't have to. {It's better with it though!}

I liked this recipe because it was meaty and hearty but without the guilt and I was getting my veggies! 

Enjoy! : )


Thursday, April 11, 2013

Cheeseburger Tater Tot Casserole


Hey guys!
Happy Thursday almost Friday!

I was MIA yesterday, and today I'm sharing a recipe with y'all. Everyone knows that a recipe is just filler when you have nothing else to write about. Right? 
Oh, maybe that's just me.

Either way, you will be glad I shared this one, it is delicious and super easy. 


What you need:

1 Can {8oz) Crescent Rolls
2 Pounds Ground Beef {use 80/20 for the best flavor}
1/4 Cup Yellow Onion, Minced
1/2 Cup Ketchup
1 Tablespoon Yellow Mustard
1 1/2 Cups Shredded Cheese {I use Cheddar}
2 Pounds Frozen Tater Tots

What to do:

1. Preheat oven to 350. Spray a 9x13 dish with cooking spray and spread the crescent rolls to completely cover the bottom, squishing them together so that the holes are seamed together.


2. In a large skillet, brown the ground beef along with the minced onion until the meat is cooked. {If you are like me and don't like onions, just chop them up small enough and you won't be able to feel them. Or, you can just leave them out but they really do add great flavor!} 

3. Once the meat is cooked, add the ketchup, mustard, and 3/4 of the cheese. Stir until well mixed and then pour evenly over the crescent rolls. 


4. Add the frozen tater tots on top and bake for 30 minutes. After 30 minutes, sprinkle the rest of the cheese over the top and bake 8 to 10 more minutes to melt the cheese. 


Garrett and I really love this. The sweetness of the crescents paired with the salty sweetness of the meat is delicious! This recipe makes a 9x13 pans worth so you will probably have leftovers. It is still just as good reheated.

I hope you are all having a great Thursday night!


Monday, March 11, 2013

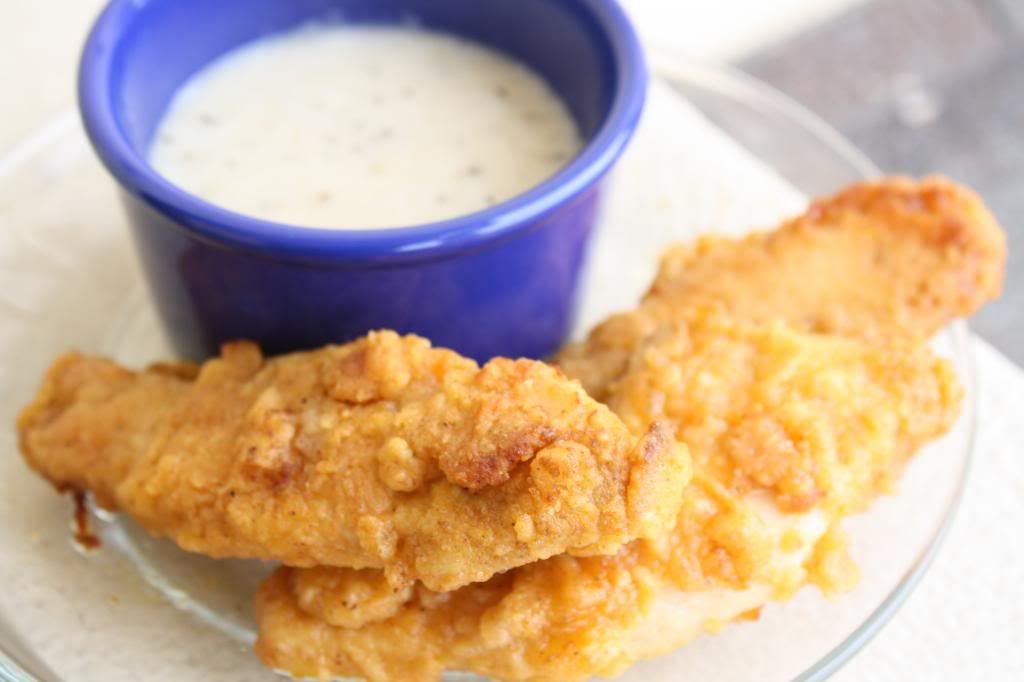
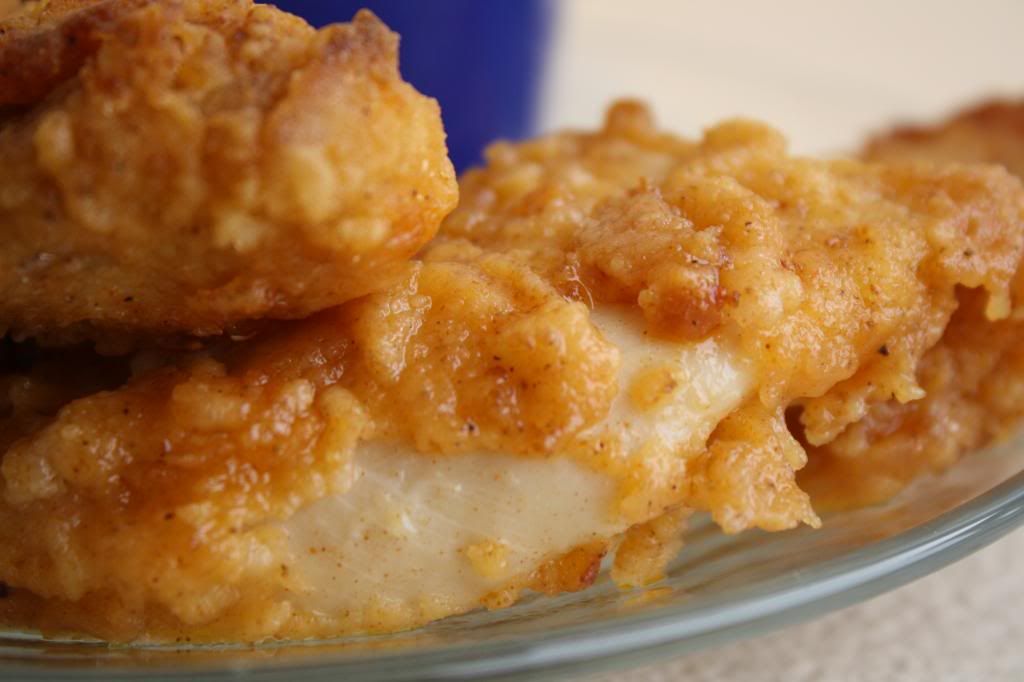
Baked Fried Chicken


G and I eat alot of chicken. Alot alot. 
I also use Pinterest alot. Alot alot. 
{I know babe, alot is not a word!}

Combine the two and, BAM!, you get Baked Fried Chicken. 


When I first stumbled upon this recipe, I mistakenly thought this was a healthier version of fried chicken. I was wrong. So, if you, like me, thought this was going to be a healthier version of fried chicken, go home, you're drunk! {I know you probably aren't actually drunk. That was just my way of saying this isn't a healthy alternative to fried chicken.}

What you need:

Chicken Breasts, thawed {1 makes 2-3 chicken strips}
1/2 Stick Butter

Mix in a gallon sized Ziploc bag:

1/2 Teaspoon Salt
1 Tablespoon Season All
3/4 Teaspoon Pepper
1 Cup Flour
2 Teaspoons Paprika

What to do:

1. Preheat oven to 400 degrees. Slice thawed chicken breasts into strips. Place strips in a bowl and cover with milk. Let soak 15 to 20 minutes.

 2. Cut up 1/2 stick of butter into squares and place them in the bottom of a 9x13 pan. Melt butter in preheated oven. Spread melted butter around pan.

3. Shake off excess milk from strips and place them in the Ziploc bag. Shake until well coated. Place coated strips into pan.

4. Bake at 400 for 20 minutes. Flip strips over and cook another 20 minutes.

Original recipe here.

This recipe is so easy and makes such delicious chicken strips. I have made this 3 times since I found the recipe! I serve them with gravy and macaroni and cheese. : )

Looking forward to catching up on y'all's weekends!


Friday, February 15, 2013

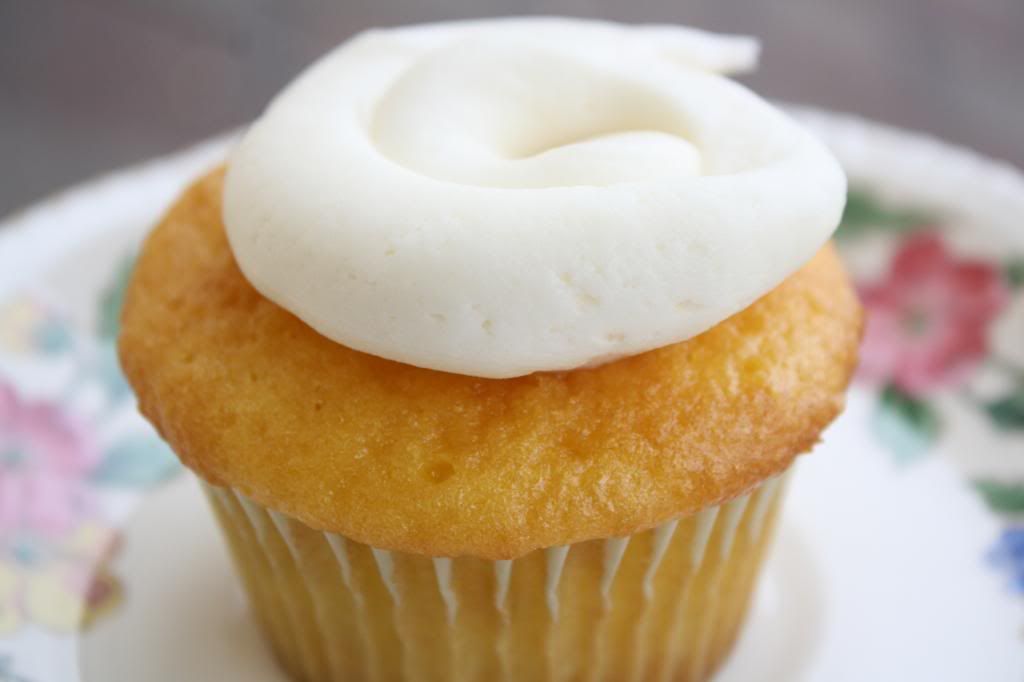
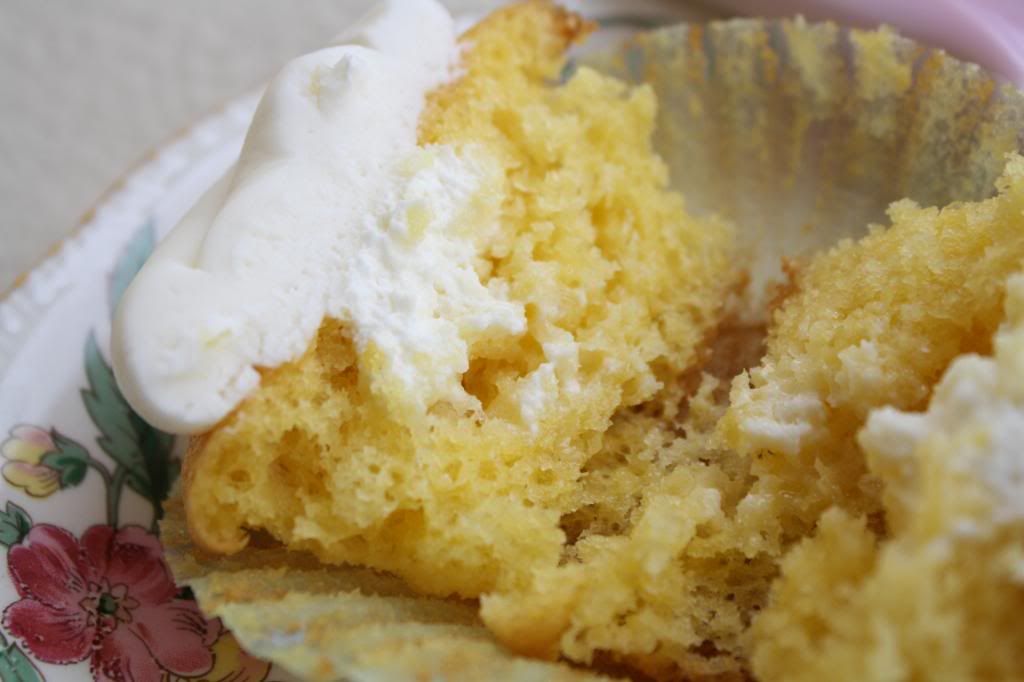
Twinkie Cupcakes


Yup. You read that right.  
Twinkie Cupcakes.

Just the name of these had me salivating.
They are actually as good as they sound, believe it or not.

G said they were his favorite cupcake. Ever.
{Yes, I realize he could've just been being nice, but if the speed that these cupcakes were eaten is any indication, I think he was telling the truth!}


What you need:
{For the cake and filling}

1 Box Yellow Cake Mix {and ingredients needed on the box}
1 Small Box French Vanilla Instant Pudding
1 {7oz.} Jar Marshmallow Fluff
1/2 Cup Butter
1/3 Cup Powdered Sugar
1 Teaspoon Vanilla Extract
1/4 Teaspoon Salt
2 Teaspoons Hot Water 

{For the Buttercream icing}

1 {7oz.} Jar Marshmallow Fluff
2 Sticks Butter, softenend
1 Teaspoon Vanilla Extract
About 1 Bag Powdered Sugar {32oz.}

What to do:
{For the cake and filling}

1. Preheat oven to 350 and line your cupcake tin with cupcake liners.
2. Prepare cake mix according to box instructions and stir in the box of French Vanilla pudding. Mix until well blended.
3. Fill cupcake liners 2/3 full and bake 15 to 18 minutes or until golden brown and a toothpick inserted comes out clean. Cool completely.
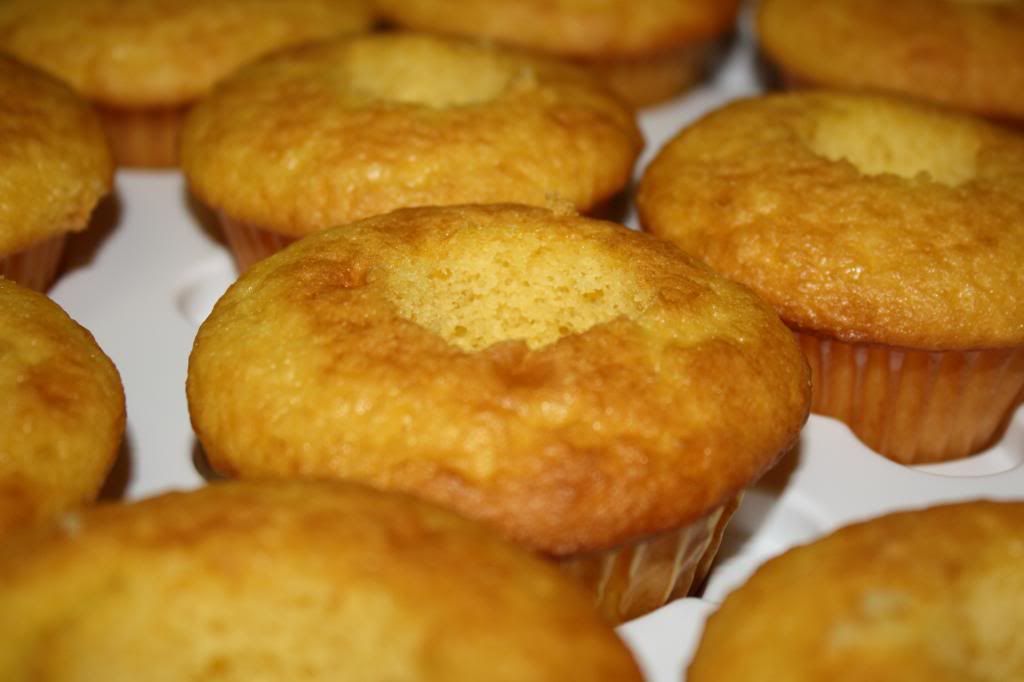
4. Once cooled, core the centers out of the cupcakes. I used a small, sharp knife and this was actually alot easier than I thought it would be.


5. Dissolve the salt in the hot water. Beat together the marshmallow cream, butter, powdered sugar, and vanilla extract until fluffy. Mix in the salt water. 

6. Scoop filling into a resealable bag and snip off a corner of the bag. Fill the center of each cupcake. Refrigerate filled cupcakes as you prepare the frosting.


What to do:
{For the Buttercream icing}

1. Beat together the Marshmallow fluff, butter, and vanilla until well blended. 
2. Gradually add in the powdered sugar until mixed well.
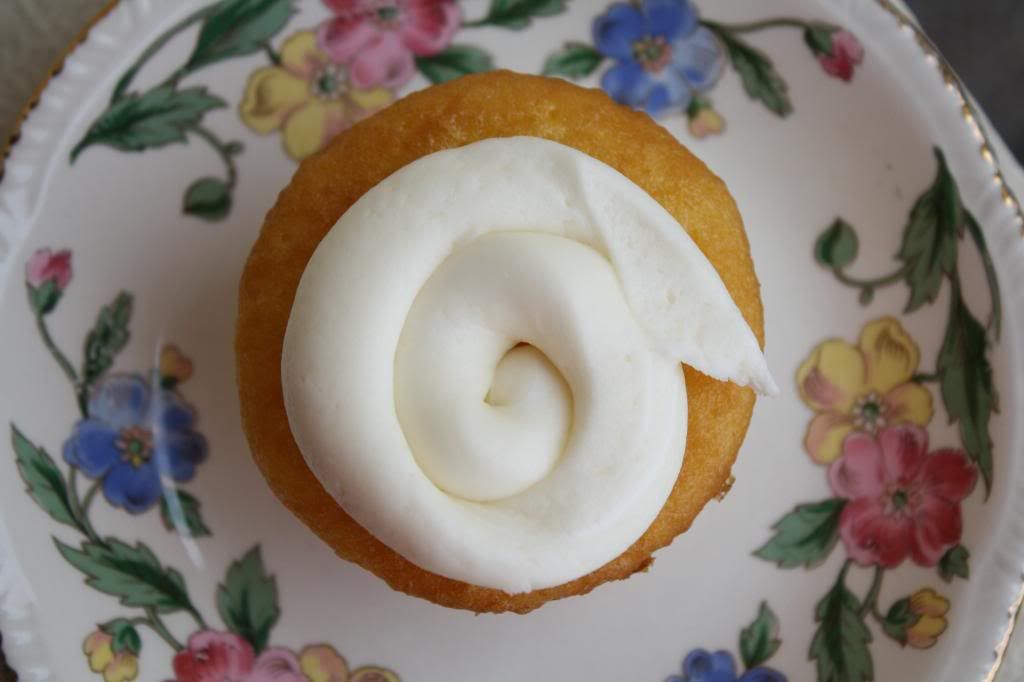
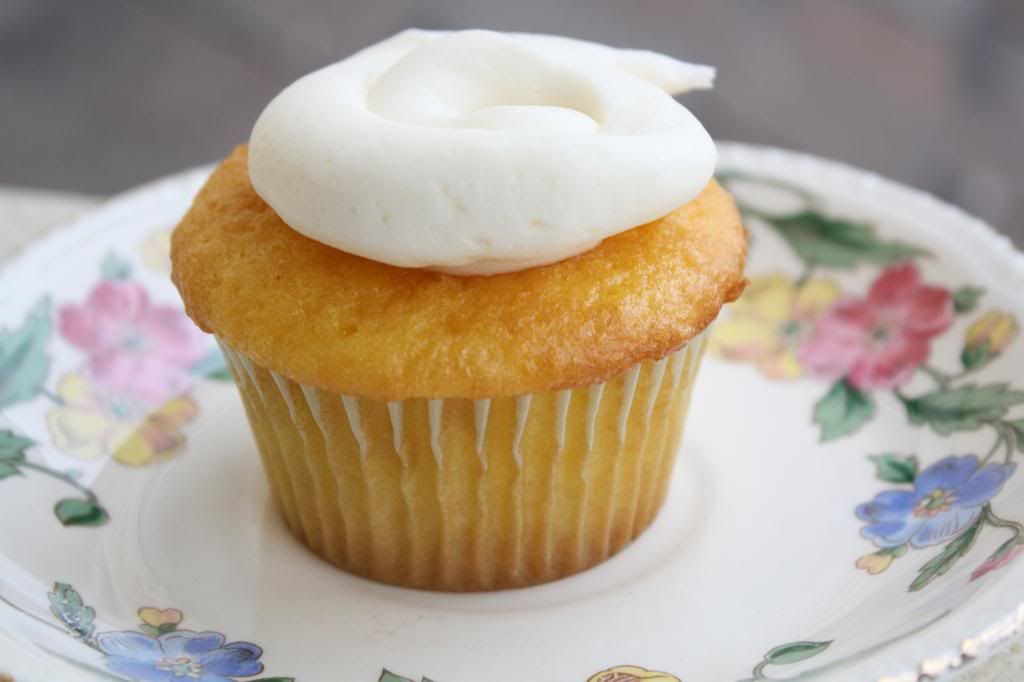
3. Scoop the icing into another bag and clip one of the corners. Cover your cupcake with the icing. 
{ I liked these with just a small amount of icing since they have a cream filling as well.}

All done!


I hope you all had a great Valentine's day!
Can't wait to read about them!


Original recipe here.

Thursday, February 7, 2013

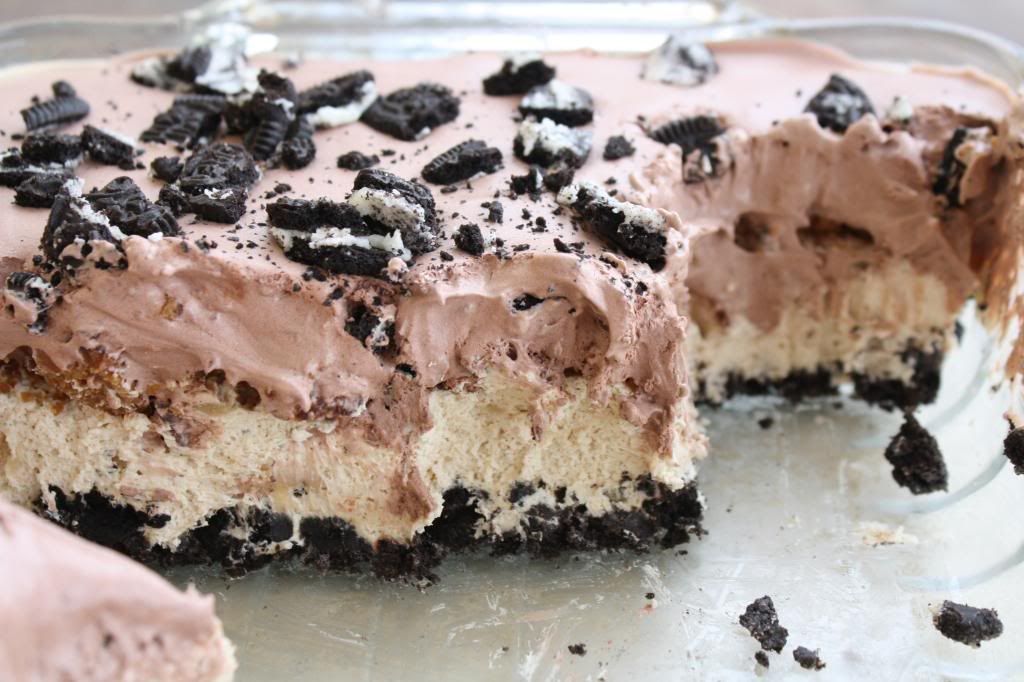
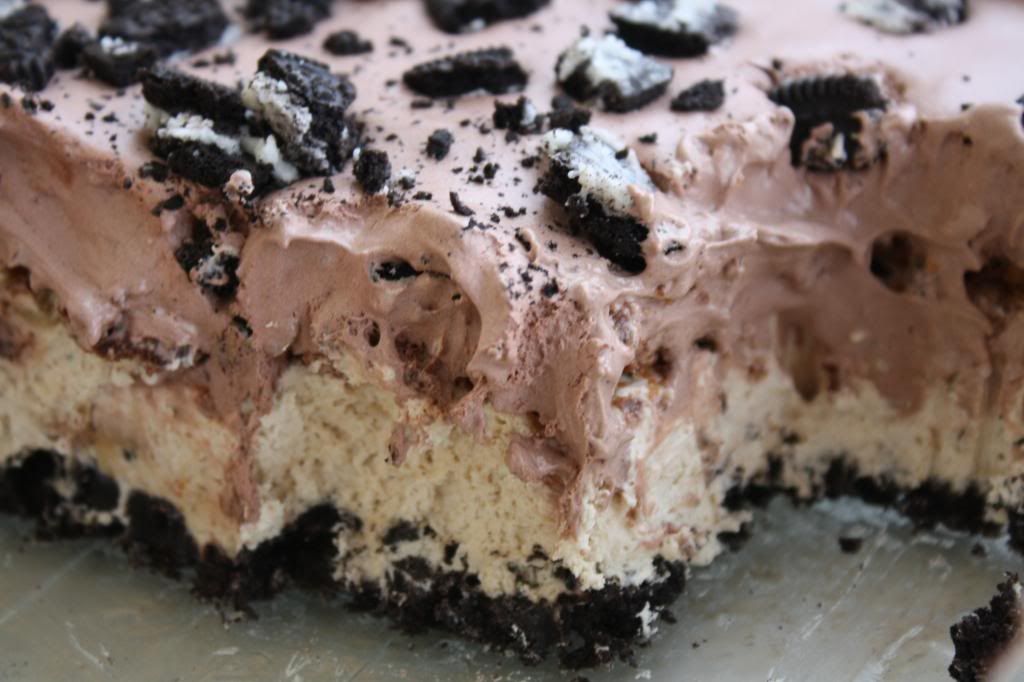
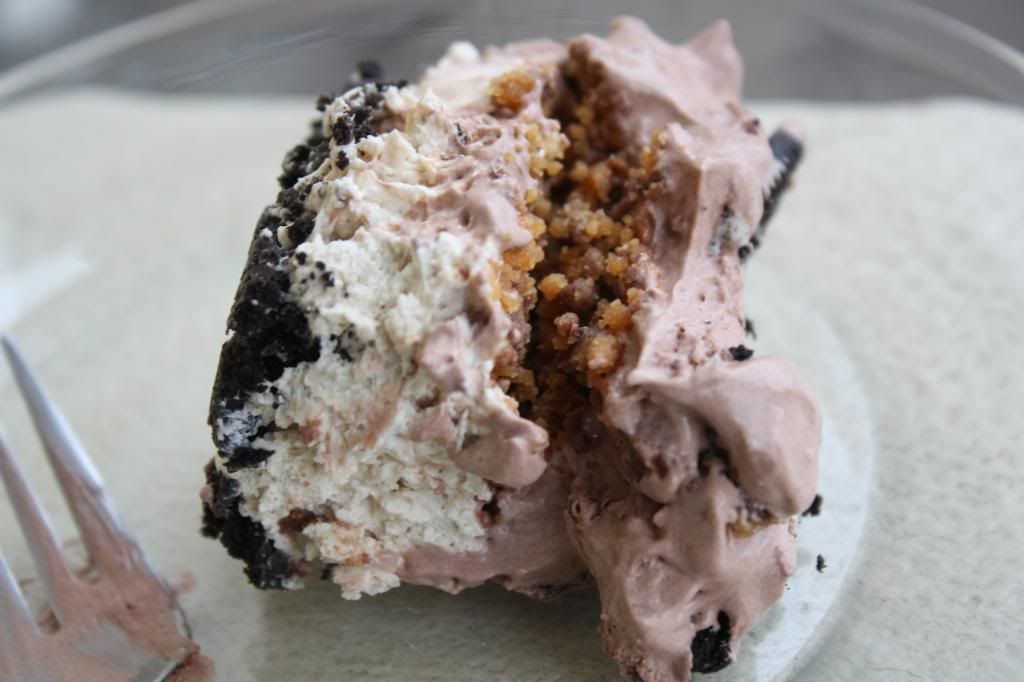
No Bake Oreo & Reese's Dessert


Hi pretties!

I shared this recipe last weekend over at Heavens to Meighan, but I wanted to share it with you guys too! It's too yummy to not share everywhere possible! : )

{I hope you like dessert!}

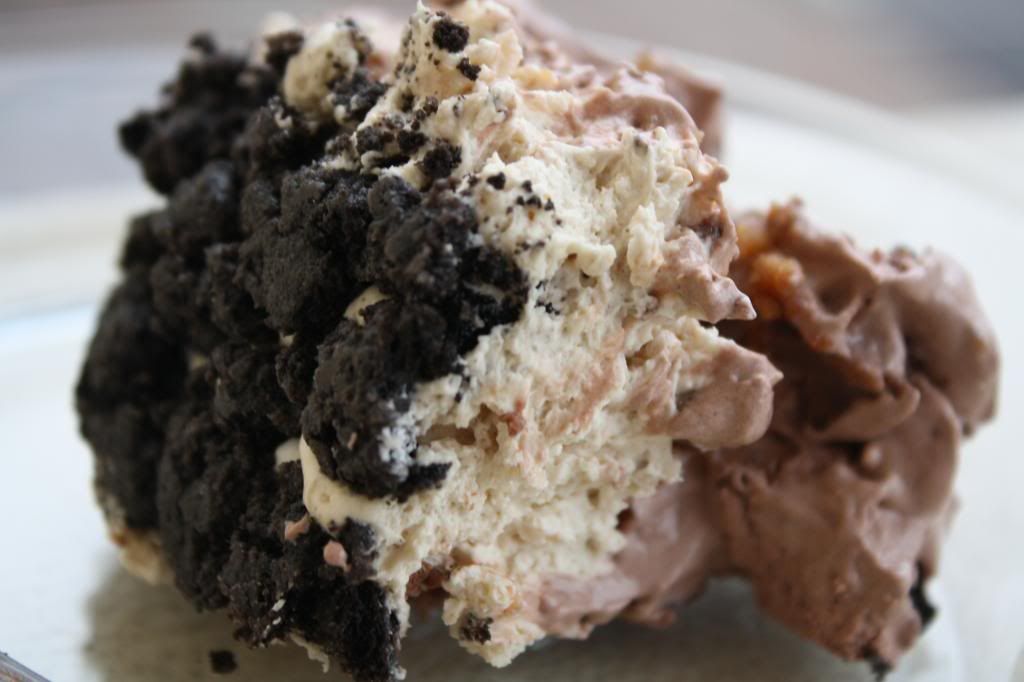
No Bake, Oreo and Reese's Dessert


 What you need:

20 Oreo's
2 Tablespoons Butter, Softened
8oz. Cream Cheese, Softened
1/2 Cup Peanut Butter
1 1/2 Cups Powdered Sugar, Divided
16oz Frozen Whipped Topping, Thawed and Divided
15 Miniature Reese's Cups, Chopped
1 Cup Cold Milk
1 {3.9oz} Package Instant Chocolate Fudge Pudding Mix

What to do:

1. For the crust, crush 16 Oreo's and add the butter. Press into a 9-in square dish and set aside. 
2. In a large mixing bowl, beat the cream cheese, peanut butter, and 1 cup powdered sugar until smooth. Fold in half of the whipped topping. Spread over the crust and sprinkle with the chopped Reese's.
3. In another bowl, mix the milk, pudding mixture, and remaining powdered sugar on low speed for 2 minutes. Let stand for 2 minutes and then fold in remaining whipped topping. 
4. Spread over chopped Reese's. Crush remaining Oreo's on top. Chill for atleast 3 hours.

Dig in and enjoy!


Happy Thursday!


Monday, January 21, 2013

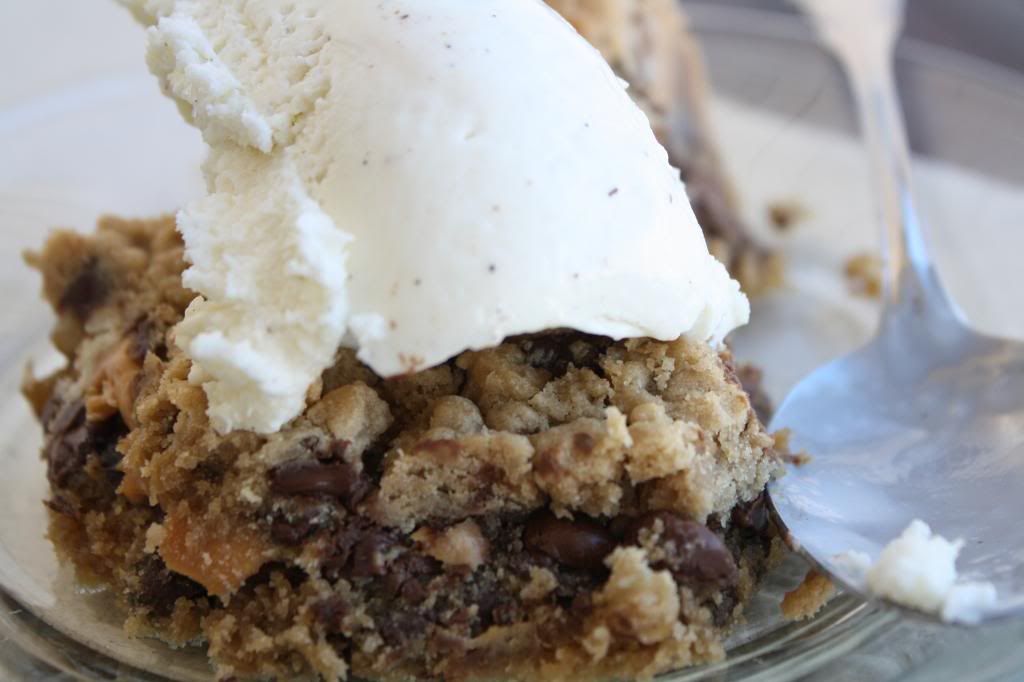
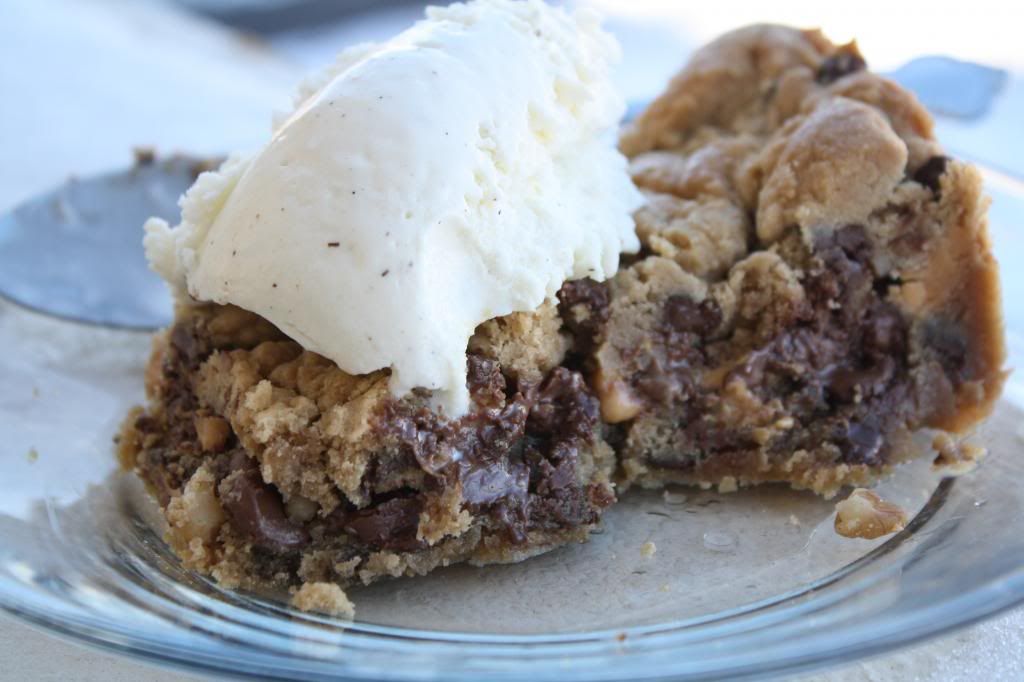
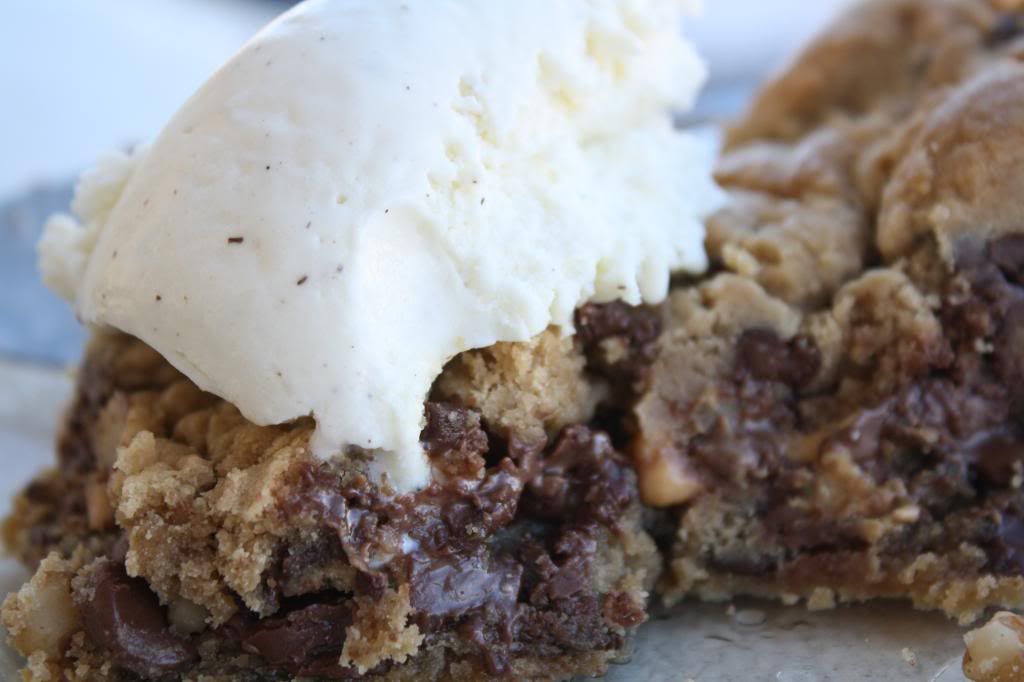
Deep Dish Chocolate Chip Cookie

Hi! : ) 

Have you ever had the Cookie Monster from Cheddars? Or the skillet cookie from Chili's?

If you are like me, any time you go to either of those restaurants you save room for those! Even if it means you basically take home your whole meal just to have room for that delicious cookie!

I found a recipe via Pinterest (of course!) and it tastes almost exactly like the deep dish/skillet cookies from the restaurants! It's really easy to make and cheap, which is also good. Throw some ice cream on top and you have a happy tummy!


What you need:
1 Large Roll of Refrigerated Chocolate Chip Cookie Dough
Chocolate Chips (We used milk chocolate, the original recipe called for semi-sweet)
Peanut Butter Chips (Or any kind you want to use! White chocolate, etc.)
Chopped Walnuts (Optional)
1 Tbsp Butter

What to do:
Preheat oven to 350.
 
1. In a 9 inch baking dish, press half of the cookie dough into the bottom. 
2. Sprinkle your "toppings" (chocolate chips, walnuts, etc) onto the top of the cookie dough. You can add as much or as little as you like, the more chocolate chips you use, the more gooey the cookie will be! We used enough of the chocolate/peanut butter chips to completely cover the cookie dough in one layer.
3.  Cut the 1Tbsp of butter into 4 pieces and lay them on top of the chocolate chips. The butter helps keep it moist, gooey, and gives it a buttery goodness!
4. Crumble the remaining cookie dough on top.
5. Bake at 350 for about 25 minutes. The top will be golden brown.

Top with vanilla ice cream if you want, or eat it without!


We changed up a couple of things from the original recipe, like adding peanut butter chips, and were really happy with the results. This dessert is fun because you can be creative and add whatever you like!


Wednesday, January 16, 2013

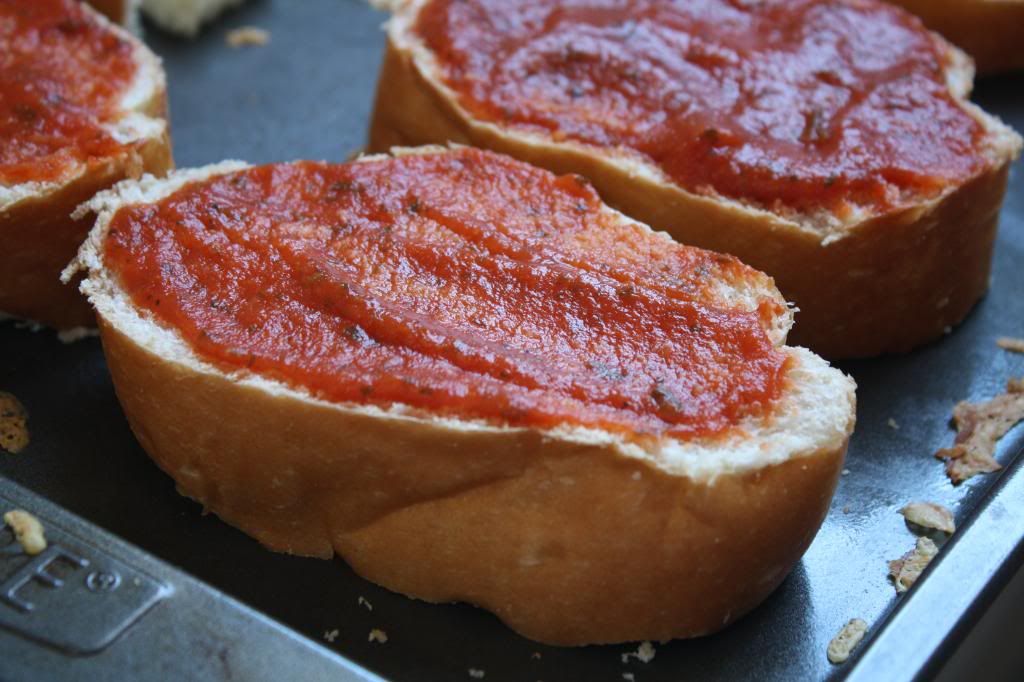
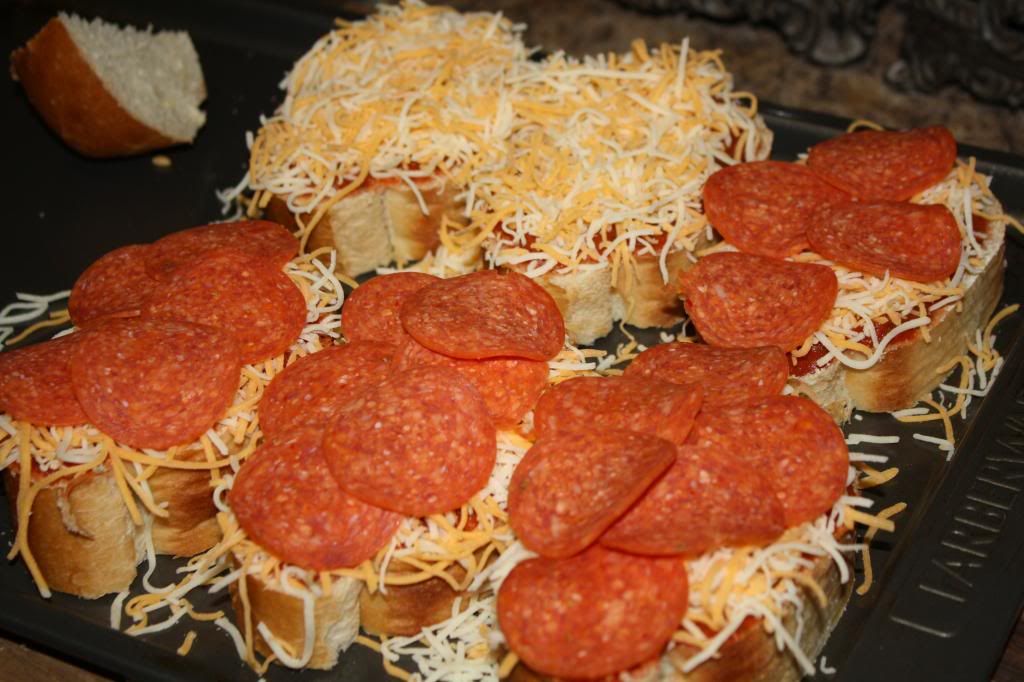
French Bread Pizza


Dude. You have to try this recipe! So easy, delicious, quick, and cheap!
This is one of my favorite non-dessert recipes I have found through Pinterest. We made these for dinner one night and I made myself more the next day for lunch. That's how good these are! 

What you need:

A loaf of french bread
Pizza Sauce (We used Prego)
Grated Cheese (We used a mix of cheeses)
Toppings (Pepperoni, beef, veggies...etc.)

What to do:

1. Cut bread into slices.
2. Spread bread with pizza sauce.
3. Add your cheese and toppings.
 4. Bake at 400 for 15 to 20 minutes.

Original recipe link here.


Garrett's weird and wanted only cheese on some of his. 


Ta da! Fresh from the oven!


 Try these! You know you wanna!


Friday, January 11, 2013

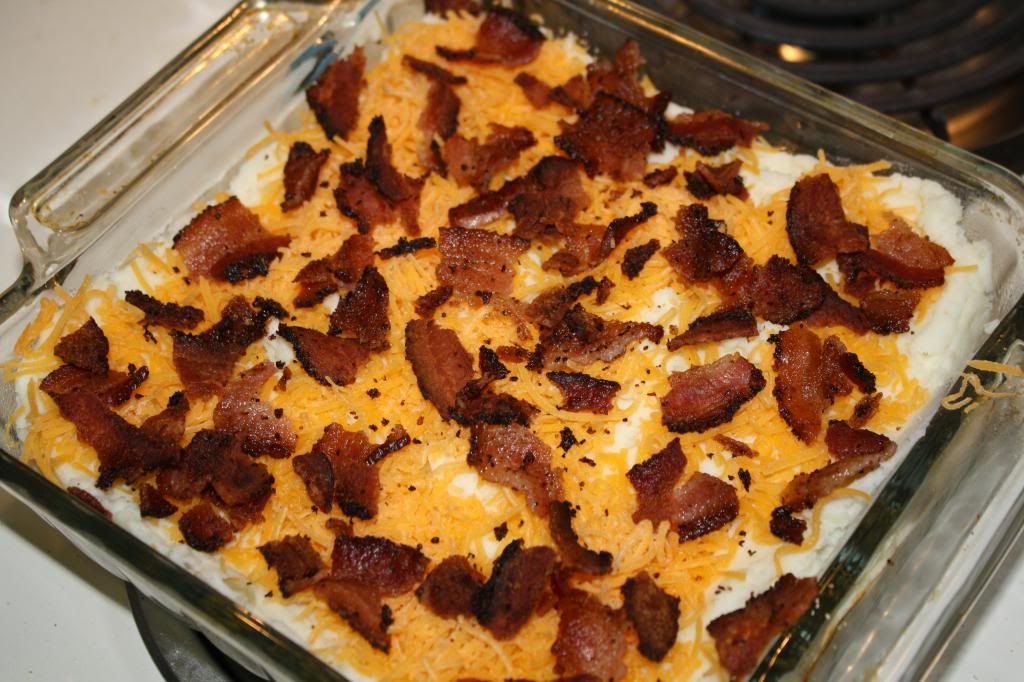
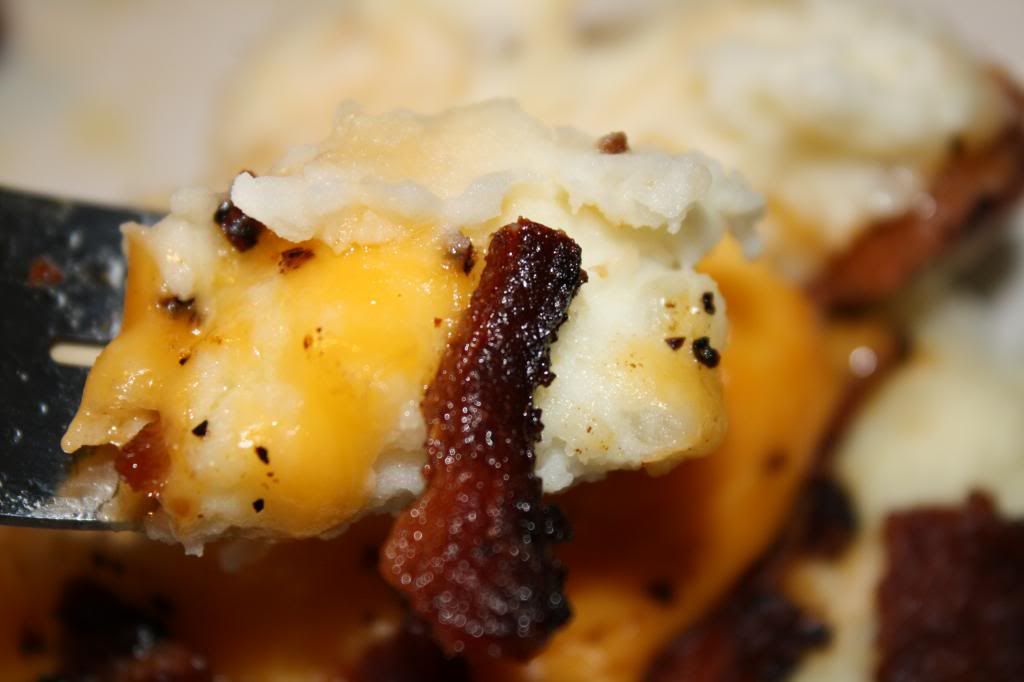
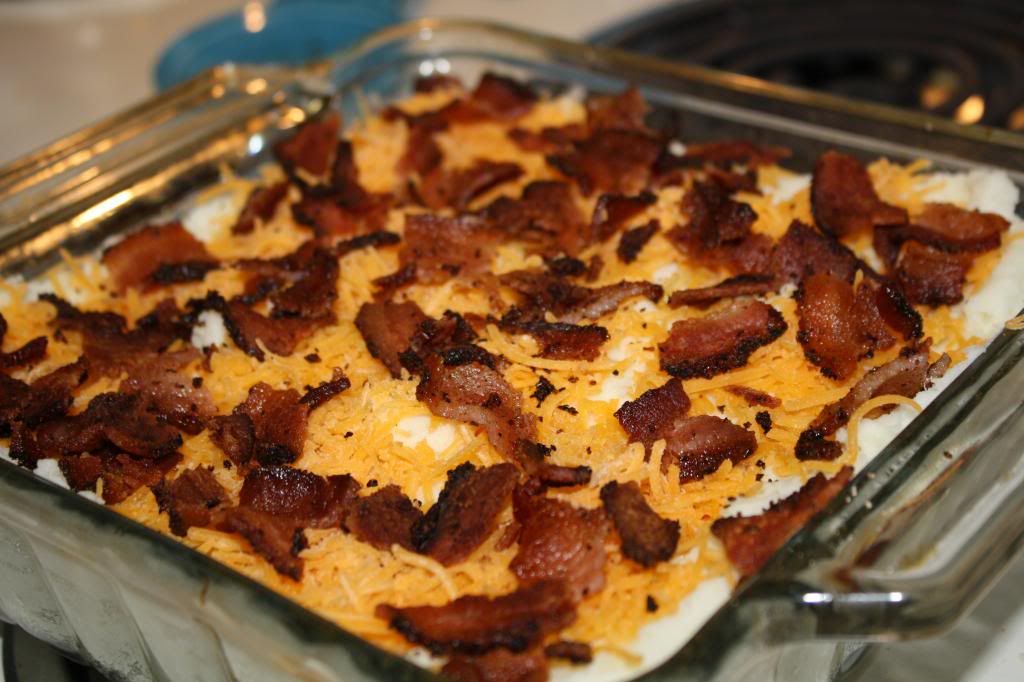
Cheesy Bacon Mashed Potatoes


Garrett and I made a decision to start trying to eat at home more often and to try out new recipes. Y'all, we eat out WAY too much!

So far, it's been great, thanks to Pinterest! I have found so many delicious new recipes on there! A couple of nights ago we made my new favorite recipe which I will definitely share on here sometime in the near future.

Today I am sharing the recipe for these Cheesy Bacon Mashed Potatoes. They make the perfect side dish! We had them with chicken and it was so good!


What you need:

3-4 Large Baking Potatoes
1/4 Cup Milk
1/2 Cup Sour Cream
4oz Cream Cheese
1 Teaspoons Parsley
1 Teaspoon Garlic Salt
1/4 Teaspoon Ground Nutmeg
1 Cup Grated Cheese
6 to 8 Slices of Bacon, Cooked

What to do:
Preheat oven to 350

1. Cook quartered potatoes in boiling water until soft. Remove and beat with a mixer until smooth.
2. Add milk, sour cream, cream cheese, parsley, garlic salt, and nutmeg, and mix until thoroughly mixed and texture is creamy.
3. Add salt and pepper to taste. Remember that the cheese and bacon will add salt later!
5. Spoon into an 8x8 baking dish that has been sprayed with cooking spay. 
6. Top with cheese and bacon.
7. Cover with foil and bake for 30 minutes. Remove foil and bake for 10 additional minutes, or until cheese is melted. 


Original recipe here.

Enjoy! : )